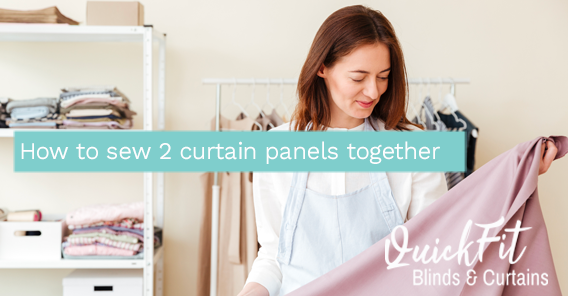
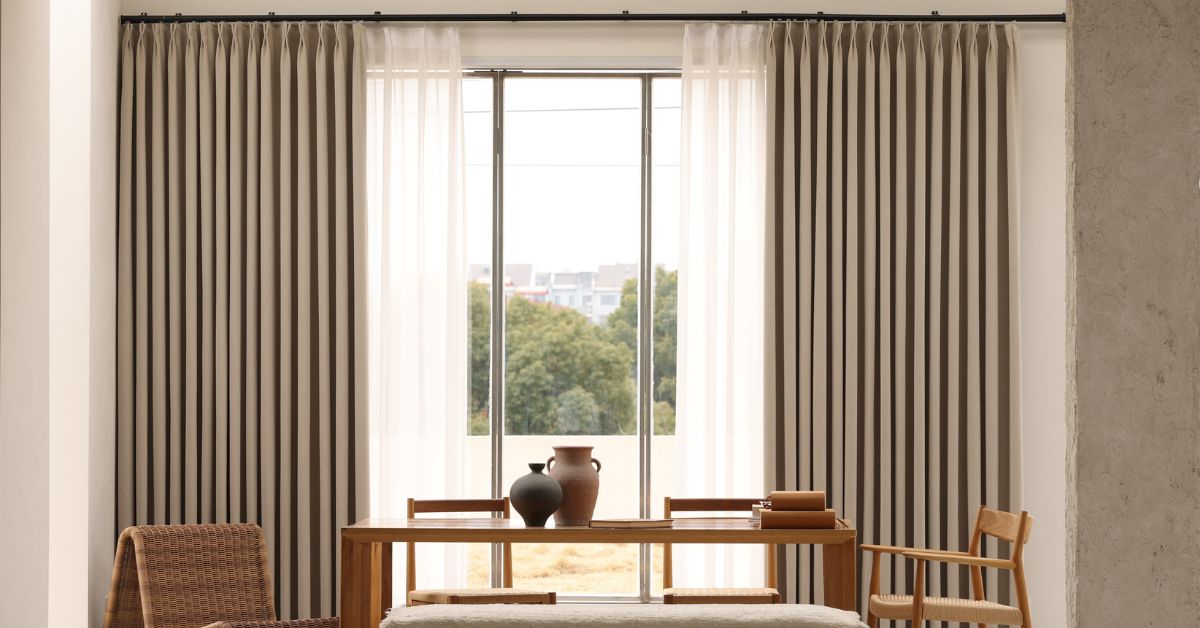
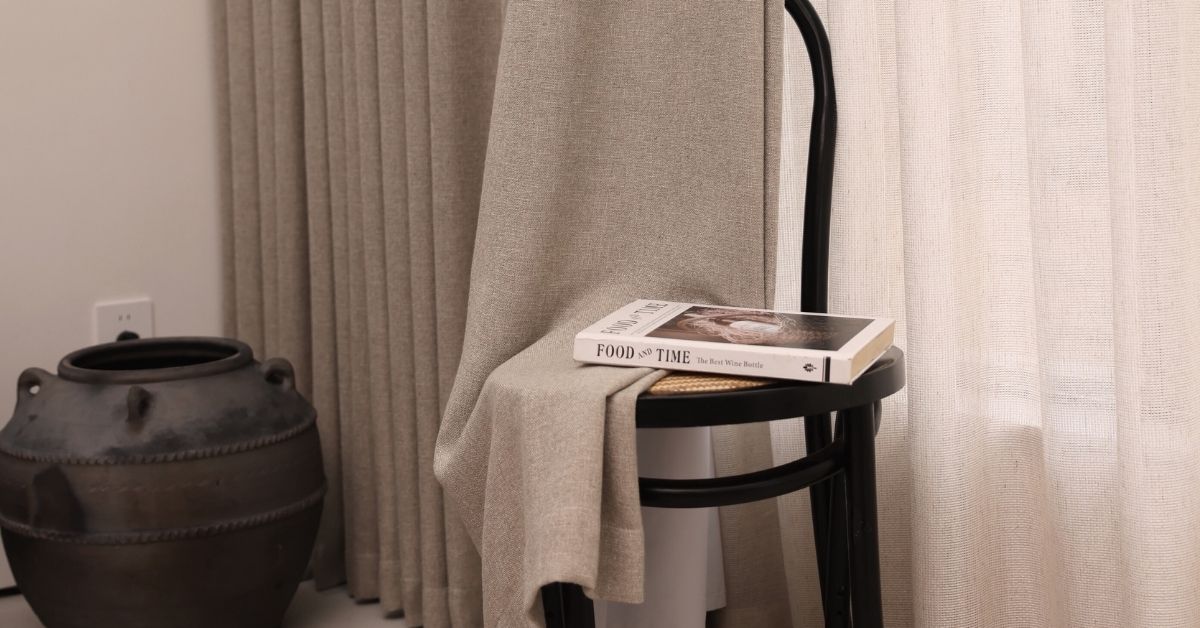
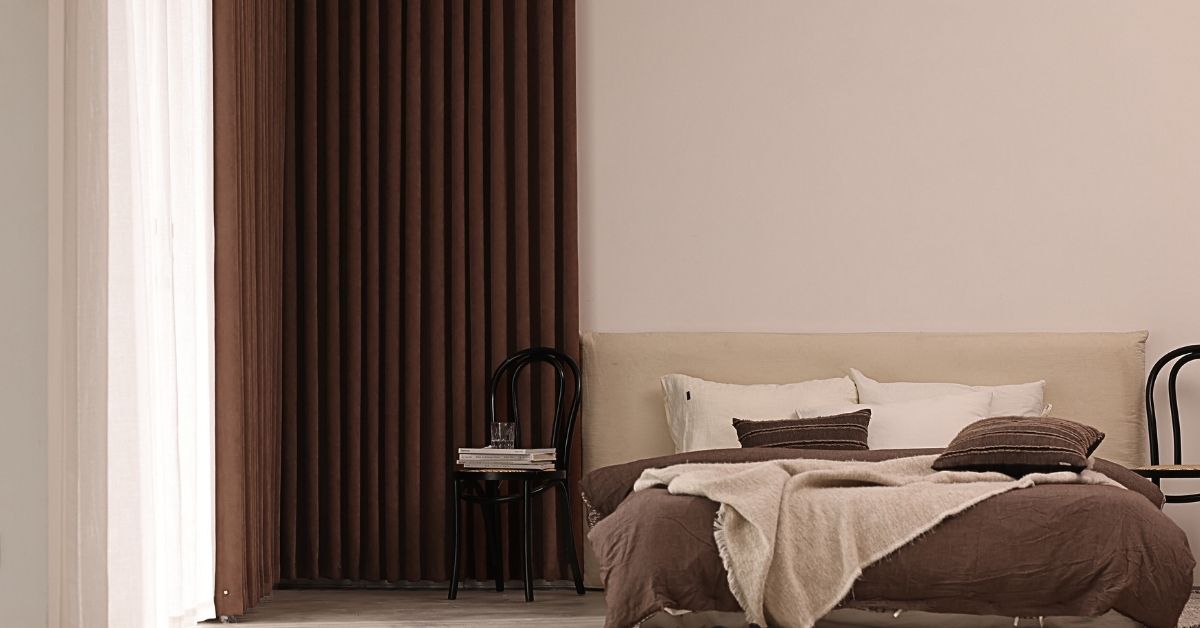
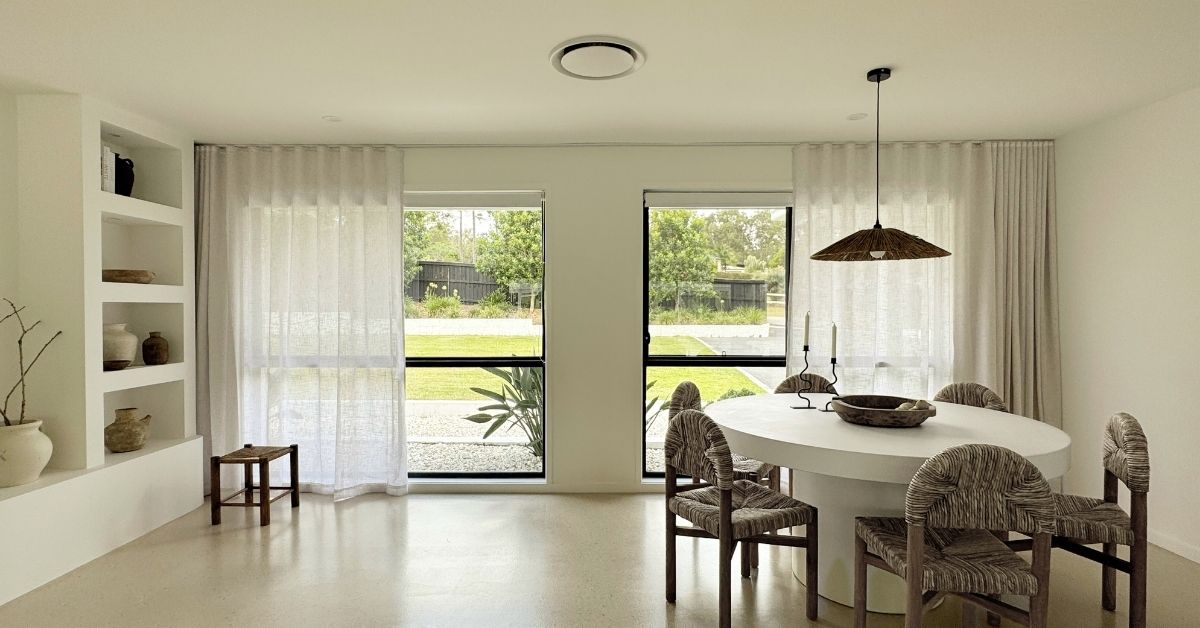
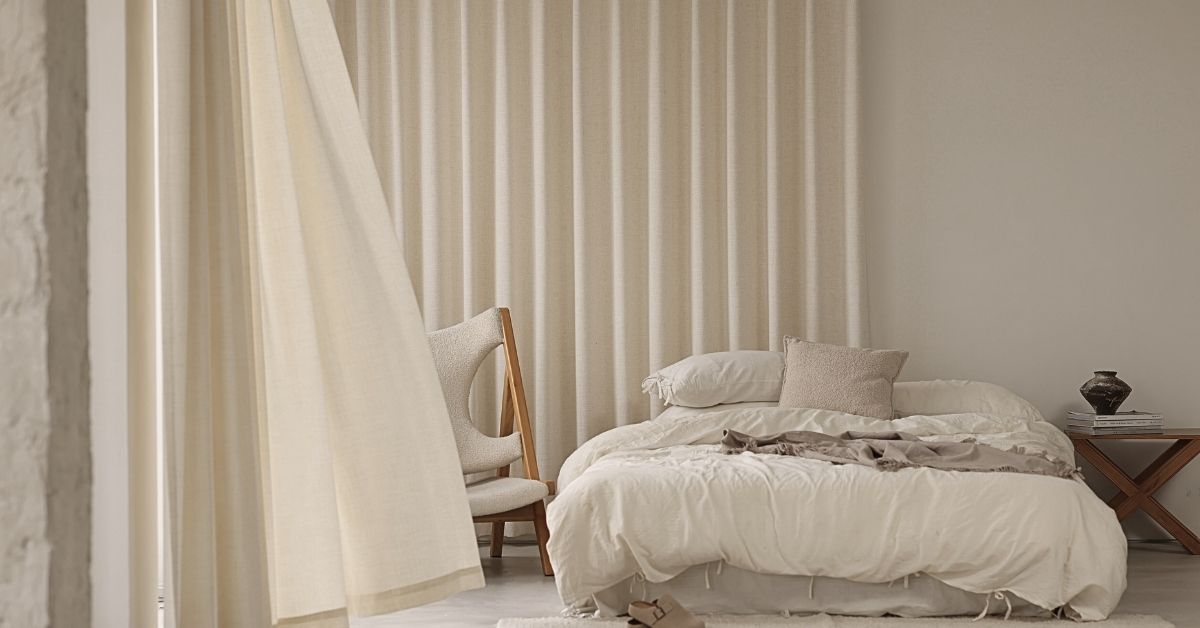
There are a number of reasons why you may want to attempt sewing curtain panels together. You may have wide windows and find that many standard, ready made drapery options are too narrow. Perhaps you’ve found the perfect ready made curtains for a particular room, however, they are nowhere near as full as you would like them and therefore you’re choosing to purchase a second pair to create the luxurious, high end look you desire.
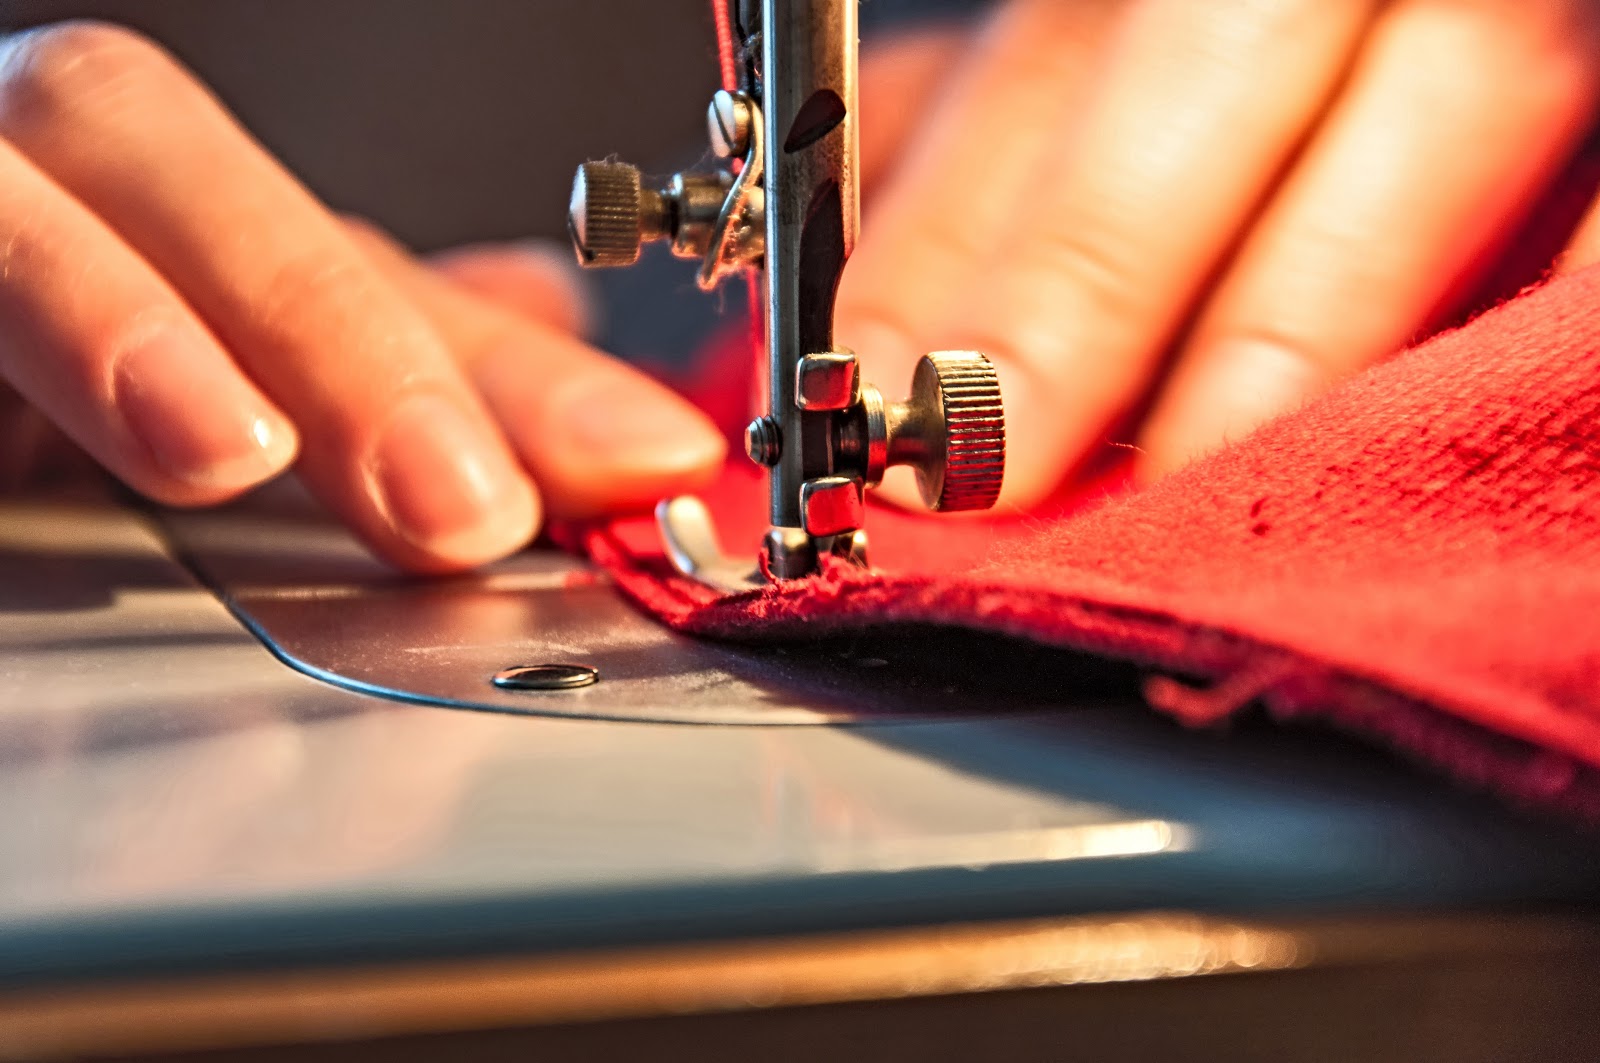
Although opting for a custom made option for your drapery can overcome such window dressing dilemmas it can often be expensive and out of many peoples budgets. Learning how to sew 2 curtains panels together is a much more cost-effective way to create the type of curtain drapery you’ve been dreaming of and although time-consuming, tends to be much less complicated than you may think.
So if you’re looking to learn how to sew 2 curtains panels together keep reading.
Sewing Unlined Curtain Panels Together
Step 1
Begin by placing the two panels you plan on joining together side by side on a flat surface. If your curtain panels are patterned the pattern placement may dictate which vertical edges you will need to sew together in order to pattern match. Once you have decided which sides you wish to sew together you can start to unstitch the vertical seams on each of the individual curtain panels. The easiest way to do so is by using a seam ripper which you can purchase from most craft stores. When removing the stitches from the seams be sure to avoid causing damage to the curtain itself. Some fabrics can pull or tear easier than others.
Step 2
Once the vertical seams have been undone move onto unpicking the stitches on the top and bottom on each curtain panel. Starting with the top sleeve remove the stitches, stopping around 6 inches in from the edge. Once the top sleeve is completed repeat the process on the bottom hems of each curtain panel. Unpicking these top and bottom edges should free up each vertical edge that was unpicked in the previous step and will allow the two panels to lay flush with one another once sewn together.
Step 3
Prepare each curtain panel for sewing by ironing the side seams flat. Removing creases that were created by the seams will make connecting the panels much easier and give you a better finish at the end of your project.
Step 4
Place the curtain panels on top of one another, right sides together. Then pin the vertical edges you unpicked together. If your fabric is quite thick you may opt to clip the two panels together instead. If you’re working with patterned panels check that the pattern matches before and after pinning.
Step 5
Now it’s finally time to connect the two panels! Sew a vertical line down the entire length of the two panels, being sure to leave an adequate seam allowance (we recommend around 5/8-inch). For a professional finish, we also recommend you serge or zig-zag stitch along the raw edges of each curtain panel. This is especially important if working with woven materials that could unravel over time. Once the panels are connected vertically iron this new seam flat.
Step 6
Finally, fold and pin the top sleeve and bottom hem of your double curtain panel before restitching. Once you have finished you can iron the entire panel before hanging. Voilà, you’ve just successfully sewn 2 curtains panels together!
Sewing Unlined Curtain Panels Together
If you’re planning on sewing lined curtain panels there are a few additional steps to follow.
Step 1
Complete the first 3 steps listed above. Once you have unpicked the stitches you will see the lining material was sandwiched between the seams on each curtain panel. When pinning the vertical edges be sure to keep the lining free and out of the way for now.
Step 2
Follow step 5 being sure not to sew the lining. Once you have finished sewing and ironed this new seam flat, place the folded edges of the curtain panels over the top of the edges of the lining.
Step 3
Fix everything in place using a vertical stitch that is around a 1/4 inch out from either side of your seam (you can pin the lining to the curtain panel prior to sewing if desired). Be sure that the lining is caught under these vertical stitches.
Step 4
Finish connecting your lined curtains by completing step 6 (above).
When sewing curtains panels together it’s important to take your time to ensure a professional finish. Preparing the fabric prior to sewing and ironing along the way will make the task much simpler and rule out any possible complications.
Quick fit Blinds and Curtains offer a variety of ready made curtains that are perfect for this type of project. We also offer an express custom made curtain option for those who would prefer to leave the sewing to the professionals. With over 15 years experience our team can advise on how to correctly measure your windows and also order free swatches depending on your needs. Contact us today to discover how we can help you with all your window dressing needs.

