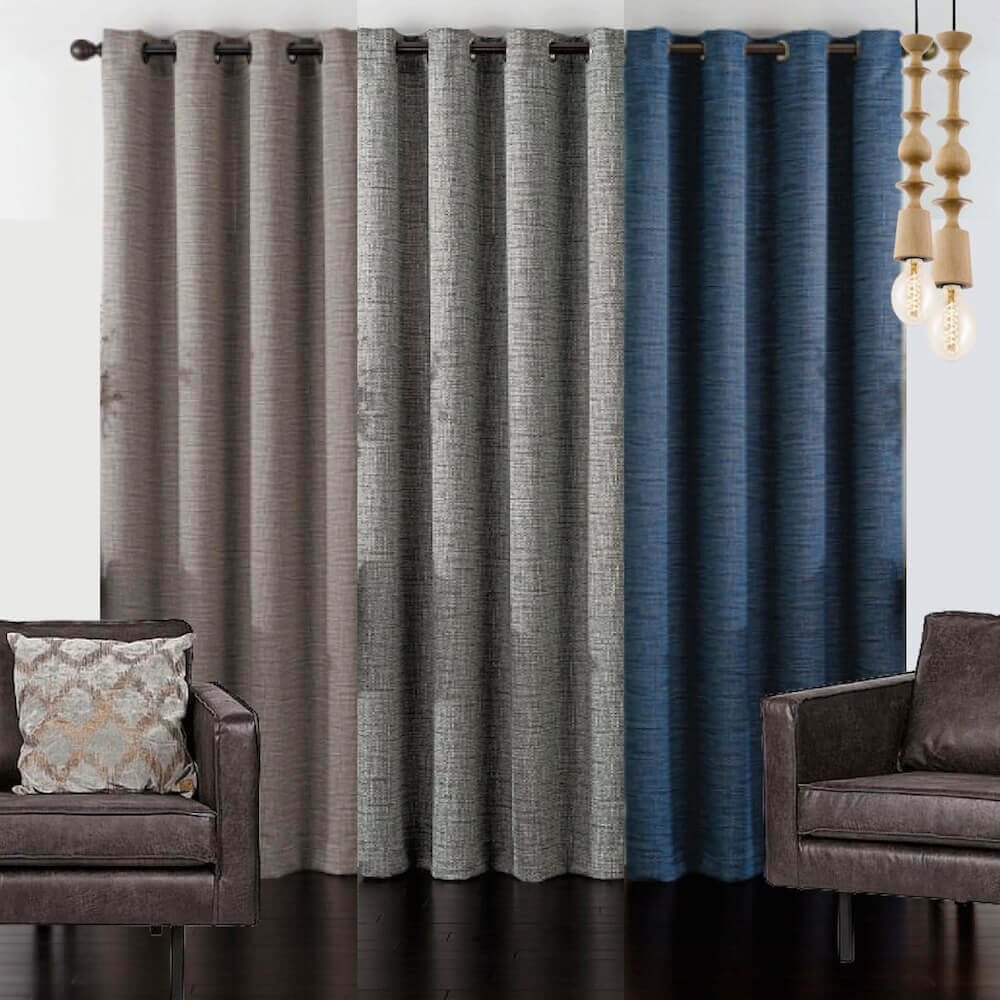
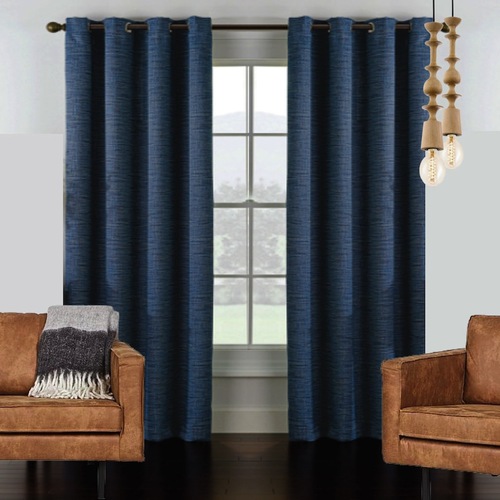
While nowhere near as complex as hanging pinch pleat curtains, measuring and hanging eyelet curtains correctly takes a steady hand during measuring and a little know-how to ensure you get the right size curtains.
To help you get the right measurements, we've put together this short step by step guide for measuring and hanging eyelet curtains at home.
Please Note: This tutorial guide on how to measure and hang eyelet curtains is intended for our range of ready to hang and ready made eyelet curtains. For custom made eyelet curtains visit our custom made eyelet curtains page and speak to our experts about hanging arrangements.
Now, let's get started!
In this tutorial guide you will learn the following:
About Eyelet Curtains at Quickfit
Eyelet Curtains have a row of eyelets, usually made from metal, which can vary in diameter. As such, this type of curtain is only to be hung with curtain rods — not tracks. Practically any type of curtain can be an eyelet style curtain as it is only the header type that changes.
For aesthetics, eyelet curtains give a much softer, wider fold than curtains with other header styles. They are easy to hang and easy to take down, which makes washing them very easy. In addition, they also have a modern, simple look that suits almost any room setting, which is why they have become one of the most popular curtain types today.
Quickfit Blinds & Curtains offers a range of ready-made eyelet curtain styles including:
- Blockout Eyelet Curtains
- Linen Look Eyelet Curtains
- Pinch Pleat Eyelet Curtains
- Sheer Eyelet Curtains
- S-Fold Eyelet Curtains
Each ready made style is sold in a variety of lengths:
- The colour is chrome or silver coloured eyelets to reflect the colour of your rod.
- All eyelet curtains are 40mm in diameter.
- They are made for curtain rods up to 32mm

How To Measure Eyelet Curtains?
To correctly measure eyelet curtains, firstly, you should measure the approximate width of the window and then double this width to determine the total curtain width that you need. If you are using just one curtain and pulling it to one side, then the total width of this single curtain should be close to the number that was just calculated.
Then, to measure the height, measure from the top of the window to the floor. You will be hanging the rod above the window, and the height above the window will depend on the length of curtains you have purchased. Just make sure that you buy curtains that have a length that is 2cm - 3cm greater than the height from the top of your rod to the floor or where ever you want the curtain to stop. This allows for the eyelet that is sewn 2-3cm below the top of the curtain.
Here's a quick size guide for you of the most typical window sizes and matching curtain lengths:
|
Window Size (width) |
Curtain Size (Panel Width) |
|
100cm to 140cm |
120cm (X 2 panels) |
|
100cm to 180cm |
140cm (X 2 panels) |
|
120cm to 180cm |
165cm (X 2 panels) |
|
160cm to 220cm |
180cm (X 2 panels) |
|
210cm to 280cm |
240cm (X 2 panels) |
|
280cm to 400cm |
300cm (X 2 panels) |
How To Hang Eyelet Curtains?
Once you have measured and purchased your new curtains, it's time to hang your eyelet curtains neatly onto the wall above the window frame. Thankfully, there is not all too much to do here as looping the curtain rod through the eyelets does not require much effort.
To hang your eyelet curtains, follow these 5 easy steps:
- Install the curtain rod
- Prepare the curtains
- Insert the rod through the eyelets
- Hang the curtain rod
- Arrange the curtains
Step 1: Install The Curtain Rod
If you haven't already installed a curtain rod, do so by following the manufacturer's instructions. The rod should be placed about 4-6 inches above the window frame to give a sense of height to the room. Use a pencil to mark where the brackets will go, drill holes, insert wall plugs, and then screw the brackets into place.
Step 2: Prepare The Curtains
Lay the curtains out flat to ensure they are not tangled or twisted. If they are new, you might want to iron them to remove any creases.
Step 3: Insert The Rod Through The Eyelets
Start from one end of the curtain and thread the rod through the eyelets in the curtain. Ensure the front side of the curtain faces the room and the backside faces the window.
Step 4: Hang The Curtain Rod
Carefully place the curtain rod with the curtains onto the brackets. Adjust the curtains to distribute them evenly across the rod.
Step 5: Arrange The Curtains
Gently fold the curtains back into their natural pleats. Eyelet curtains typically have a wavy, uniform look, so adjust them until you achieve the desired appearance. Once done, step back and look at the curtains from a distance before making any final necessary adjustments to ensure they hang evenly and look symmetrical.
Pro Tips
As a final pro tip, You should buy a pair with a total width close to this measurement — 20% smaller or bigger than that measurement is fine. The bigger the curtains, the more folds the curtain will have, and the fuller it will look. Also, why not combine several smaller curtains together to cover wider windows? You need close to double your window width, but you don’t need to limit yourself to one or two curtains. Why not use four curtains — two on each side? Most people will not be able to tell that you have several panels, and QuickFit often offers custom curtains like this.
Remember, the smaller the curtain, the easier it is to wash!


